文章内容
一、第一种方式: AbstractRoutingDataSource
1、手动切换数据源
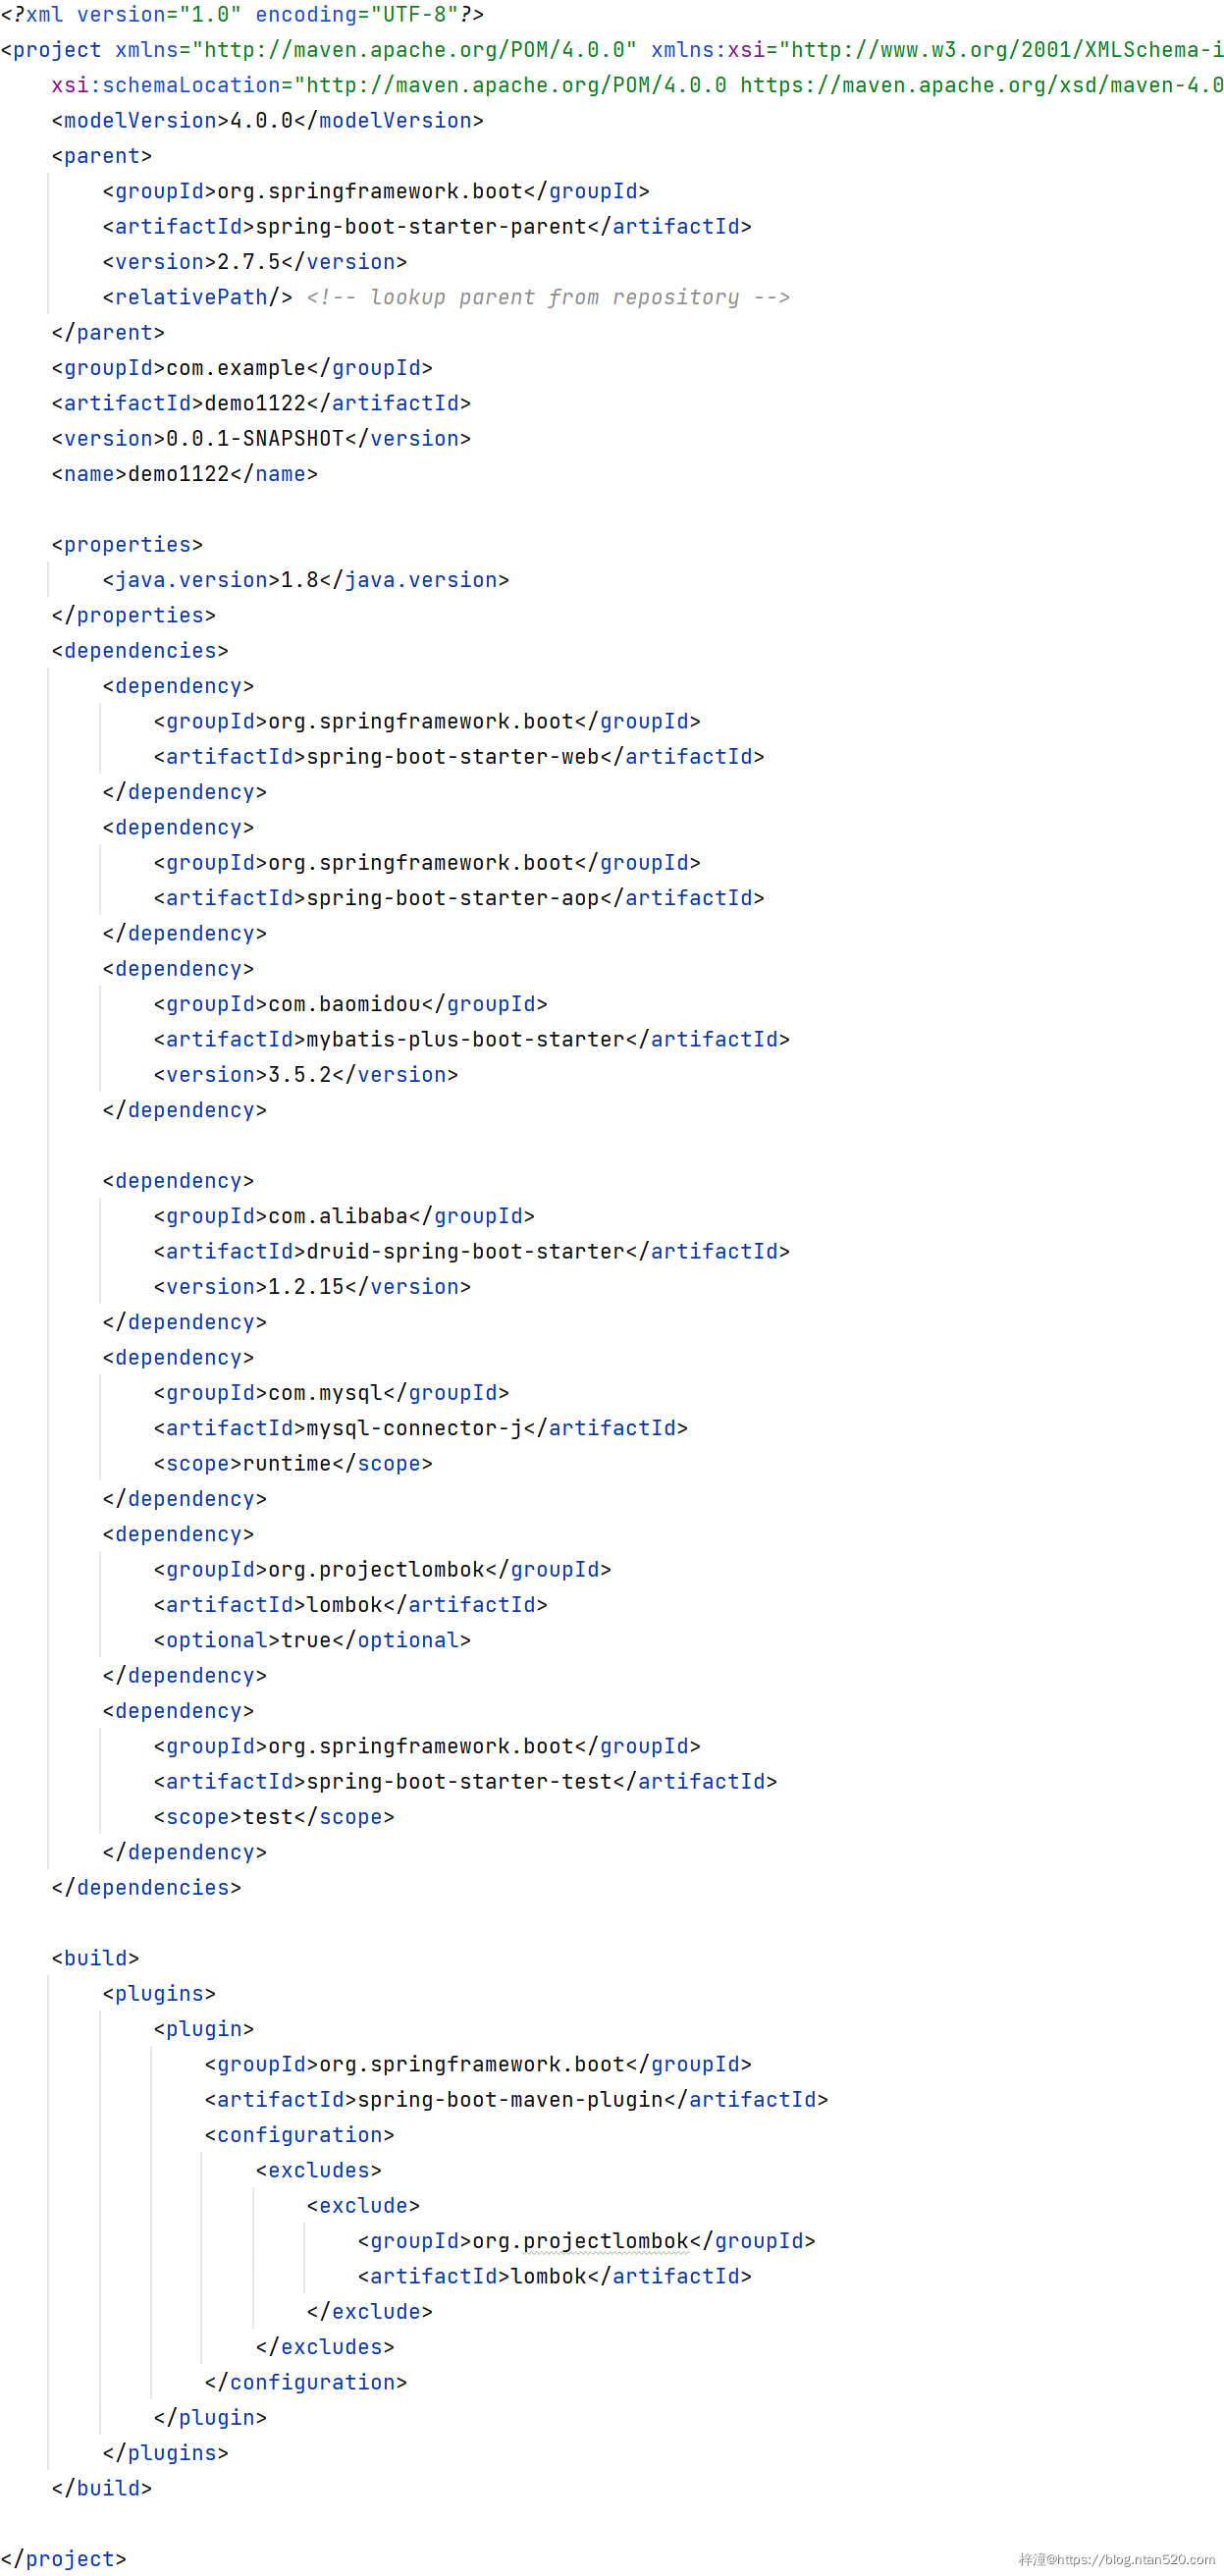
1)pom.xml

2)application.properties
# Order
# 如果用Druid作为数据源,应该用url属性,而不是jdbc-url
spring.datasource.order.jdbc-url=jdbc:mysql://localhost:3306/order?useUnicode=true&characterEncoding=utf8&allowMultiQueries=true&useSSL=false
spring.datasource.order.username=root
spring.datasource.order.password=123456
spring.datasource.order.driver-class-name=com.mysql.cj.jdbc.Driver
# Stock
spring.datasource.stock.jdbc-url=jdbc:mysql://localhost:3306/stock?useUnicode=true&characterEncoding=utf8&allowMultiQueries=true&useSSL=false
spring.datasource.stock.username=root
spring.datasource.stock.password=123456
spring.datasource.stock.driver-class-name=com.mysql.cj.jdbc.Driver
# Account
spring.datasource.account.jdbc-url=jdbc:mysql://localhost:3306/account?useUnicode=true&characterEncoding=utf8&allowMultiQueries=true&useSSL=false
spring.datasource.account.username=root
spring.datasource.account.password=123456
spring.datasource.account.driver-class-name=com.mysql.cj.jdbc.Driver
3)配置数据源
a)DataSourceConfig.java
import com.alibaba.druid.pool.DruidDataSource;
import com.baomidou.mybatisplus.extension.spring.MybatisSqlSessionFactoryBean;
import com.zaxxer.hikari.HikariDataSource;
import org.mybatis.spring.SqlSessionFactoryBean;
import org.springframework.beans.factory.annotation.Qualifier;
import org.springframework.boot.context.properties.ConfigurationProperties;
import org.springframework.boot.jdbc.DataSourceBuilder;
import org.springframework.context.annotation.Bean;
import org.springframework.context.annotation.Configuration;
import org.springframework.context.annotation.Primary;
import org.springframework.core.io.support.PathMatchingResourcePatternResolver;

import javax.sql.DataSource;
import java.util.HashMap;
import java.util.Map;

@Configuration
public class DataSourceConfig {

    @Bean("orderDataSource")
    @ConfigurationProperties(prefix = "spring.datasource.order")
    public DataSource orderDataSource() {
//        return new HikariDataSource();
//        return new DruidDataSource();
        return DataSourceBuilder.create().build();
    }

    @Bean("accountDataSource")
    @ConfigurationProperties(prefix = "spring.datasource.account")
    public DataSource accountDataSource() {
//        return new HikariDataSource();
//        return new DruidDataSource();
        return DataSourceBuilder.create().build();
    }

    @Bean("stockDataSource")
    @ConfigurationProperties(prefix = "spring.datasource.stock")
    public DataSource stockDataSource() {
//        return new HikariDataSource();
//        return new DruidDataSource();
        return DataSourceBuilder.create().build();
    }

    @Primary
    @Bean("dynamicDataSource")
    public DataSource dynamicDataSource(@Qualifier("orderDataSource") DataSource orderDataSource,
                                        @Qualifier("accountDataSource") DataSource accountDataSource,
                                        @Qualifier("stockDataSource") DataSource stockDataSource) {

        Map<Object, Object> dataSourceMap = new HashMap<>(3);
        dataSourceMap.put(DataSourceKey.ORDER.name(), orderDataSource);
        dataSourceMap.put(DataSourceKey.STOCK.name(), stockDataSource);
        dataSourceMap.put(DataSourceKey.ACCOUNT.name(), accountDataSource);

        DynamicRoutingDataSource dynamicRoutingDataSource = new DynamicRoutingDataSource();
        dynamicRoutingDataSource.setDefaultTargetDataSource(orderDataSource);
        dynamicRoutingDataSource.setTargetDataSources(dataSourceMap);

        return dynamicRoutingDataSource;
    }

    @Bean
    public MybatisSqlSessionFactoryBean sqlSessionFactoryBean(@Qualifier("dynamicDataSource") DataSource dataSource) {
        MybatisSqlSessionFactoryBean sqlSessionFactoryBean = new MybatisSqlSessionFactoryBean();
        sqlSessionFactoryBean.setDataSource(dataSource);
//        sqlSessionFactoryBean.setMapperLocations(new PathMatchingResourcePatternResolver().getResources("classpath:mappers/*.xml"));
        return sqlSessionFactoryBean;
    }
}
由于是MyBatsi-Plus,所以配的是MybatisSqlSessionFactoryBean,如果是MyBatis,则应该是SqlSessionFactoryBean
b)DataSourceKey.java
public enum DataSourceKey {
    /**
     * Order data source key.
     */    ORDER,
    /**
     * Stock data source key.
     */    STOCK,
    /**
     * Account data source key.
     */    ACCOUNT
}
c)DynamicDataSourceContextHolder.java
public class DynamicDataSourceContextHolder {

    private static final ThreadLocal<String> CONTEXT_HOLDER = ThreadLocal.withInitial(DataSourceKey.ORDER::name);

    public static void setDataSourceKey(DataSourceKey key) {
        CONTEXT_HOLDER.set(key.name());
    }

    public static String getDataSourceKey() {
        return CONTEXT_HOLDER.get();
    }

    public static void clearDataSourceKey() {
        CONTEXT_HOLDER.remove();
    }

}
d)DynamicRoutingDataSource.java
import lombok.extern.slf4j.Slf4j;
import org.springframework.jdbc.datasource.lookup.AbstractRoutingDataSource;

@Slf4j
public class DynamicRoutingDataSource extends AbstractRoutingDataSource {
    @Override
    protected Object determineCurrentLookupKey() {
        log.info("当前数据源 [{}]", DynamicDataSourceContextHolder.getDataSourceKey());
        return DynamicDataSourceContextHolder.getDataSourceKey();
    }
}
好了,配置完以后,在操作数据库之前,先设置用哪个数据源即可,就像下面这样:
DynamicDataSourceContextHolder.setDataSourceKey(DataSourceKey.ACCOUNT);
4)示例
import com.ntan520.example.account.entity.Account;
import com.ntan520.example.account.service.IAccountService;
import com.ntan520.example.config.DataSourceKey;
import com.ntan520.example.config.DynamicDataSourceContextHolder;
import com.ntan520.example.order.entity.Order;
import com.ntan520.example.order.service.IOrderService;
import com.ntan520.example.stock.entity.Stock;
import com.ntan520.example.stock.service.IStockService;
import org.junit.jupiter.api.Test;
import org.springframework.beans.factory.annotation.Autowired;
import org.springframework.boot.test.context.SpringBootTest;

import java.math.BigDecimal;

@SpringBootTest
public class Demo1122ApplicationTests {

    @Autowired
    private IOrderService orderService;
    @Autowired
    private IAccountService accountService;
    @Autowired
    private IStockService stockService;

    @Test
    public void doBusiness() {
        DynamicDataSourceContextHolder.setDataSourceKey(DataSourceKey.ORDER);
        Order order = new Order();
        order.setOrderNo("123");
        order.setUserId("1");
        order.setCommodityCode("abc");
        order.setCount(1);
        order.setAmount(new BigDecimal("9.9"));
        orderService.save(order);

        DynamicDataSourceContextHolder.setDataSourceKey(DataSourceKey.STOCK);
        Stock stock = new Stock();
        stock.setId(1);
        stock.setCommodityCode("abc");
        stock.setName("huawei");
        stock.setCount(1);
        stockService.updateById(stock);

        DynamicDataSourceContextHolder.setDataSourceKey(DataSourceKey.ACCOUNT);
        Account account = new Account();
        account.setId(1);
        account.setUserId("1");
        account.setAmount(new BigDecimal(100));
        accountService.updateById(account);
    }

}
这样写看起来确实有些麻烦,通常可能不会像这样在一个方法里操作多个数据库,就比如说假设这是一个管理后台,为了图省事把所有业务都写在这一个项目里,这个时候就需要配置多个数据源,各个数据库的业务互相没有关联,只是写在同一个项目中而已,这样的话如果每次都手动设置数据源太麻烦,可以定义一个AOP切面来自动切换数据源。
2、自动切换数据源
给刚才的代码升个级,利用AOP来拦截目标方法自动切换数据源,参照:https://docs.spring.io/spring-framework/docs/current/reference/html/core.html#aop-ataspectj
1)添加@EnableAspectJAutoProxy注解
import org.mybatis.spring.annotation.MapperScan;
import org.springframework.boot.SpringApplication;
import org.springframework.boot.autoconfigure.SpringBootApplication;
import org.springframework.context.annotation.EnableAspectJAutoProxy;

@EnableAspectJAutoProxy
@MapperScan("com.ntan520.example.*.mapper")
@SpringBootApplication
public class Demo1122Application {
    public static void main(String[] args) {
        SpringApplication.run(Demo1122Application.class, args);
    }
}
2)定义切面、切点、通知
import com.ntan520.example.config.DataSourceKey;
import com.ntan520.example.config.DynamicDataSourceContextHolder;
import org.aspectj.lang.ProceedingJoinPoint;
import org.aspectj.lang.annotation.Around;
import org.aspectj.lang.annotation.Aspect;
import org.aspectj.lang.annotation.Pointcut;
import org.springframework.stereotype.Component;

@Aspect
@Component
public class DataSourceAdvice {

//    @Pointcut("within(com.ntan520.example.order..*)")
    @Pointcut("execution(* com.ntan520.example.order..*.*(..))")
    public void orderPointcut() {}

//    @Pointcut("within(com.ntan520.example.account..*)")
    @Pointcut("execution(* com.ntan520.example.account..*.*(..))")
    public void accountPointcut() {}

//    @Pointcut("within(com.ntan520.example.stock..*)")
    @Pointcut("execution(* com.ntan520.example.stock..*.*(..))")
    public void stockPointcut() {}


    @Around("orderPointcut()")
    public Object order(ProceedingJoinPoint pjp) throws Throwable {
        DynamicDataSourceContextHolder.setDataSourceKey(DataSourceKey.ORDER);
        Object retVal = pjp.proceed();
        DynamicDataSourceContextHolder.clearDataSourceKey();
        return retVal;
    }
    @Around("accountPointcut()")
    public Object account(ProceedingJoinPoint pjp) throws Throwable {
        DynamicDataSourceContextHolder.setDataSourceKey(DataSourceKey.ACCOUNT);
        Object retVal = pjp.proceed();
        DynamicDataSourceContextHolder.clearDataSourceKey();
        return retVal;
    }
    @Around("stockPointcut()")
    public Object stock(ProceedingJoinPoint pjp) throws Throwable {
        DynamicDataSourceContextHolder.setDataSourceKey(DataSourceKey.STOCK);
        Object retVal = pjp.proceed();
        DynamicDataSourceContextHolder.clearDataSourceKey();
        return retVal;
    }
}
3)运行效果
现在就不用每次调用service方法前手动设置数据源了

4)工程结构

二、第二种方式:dynamic-datasource-spring-boot-starter
功能很强大,支持 数据源分组 ,适用于多种场景
纯粹多库 读写分离 一主多从 混合模式
参照:https://github.com/baomidou/dynamic-datasource-spring-boot-starter
1、引入dynamic-datasource-spring-boot-starter
<dependency>
    <groupId>com.baomidou</groupId>
    <artifactId>dynamic-datasource-spring-boot-starter</artifactId>
    <version>3.5.2</version>
</dependency>
2、配置数据源
spring:
  datasource:
    dynamic:
      primary: master #设置默认的数据源或者数据源组,默认值即为master
      strict: false #严格匹配数据源,默认false. true未匹配到指定数据源时抛异常,false使用默认数据源
      datasource:
        master:
          url: jdbc:mysql://xx.xx.xx.xx:3306/dynamic
          username: root
          password: 123456
          driver-class-name: com.mysql.jdbc.Driver # 3.2.0开始支持SPI可省略此配置
        slave_1:
          url: jdbc:mysql://xx.xx.xx.xx:3307/dynamic
          username: root
          password: 123456
          driver-class-name: com.mysql.jdbc.Driver
        slave_2:
          url: ENC(xxxxx) # 内置加密,使用请查看详细文档
          username: ENC(xxxxx)
          password: ENC(xxxxx)
          driver-class-name: com.mysql.jdbc.Driver
       #......省略
       #以上会配置一个默认库master,一个组slave下有两个子库slave_1,slave_2
主从配置,读写分离:
# 多主多从
spring:
  datasource:
    dynamic:
      datasource:
        master_1:
        master_2:
        slave_1:
        slave_2:
        slave_3:

# 纯粹多库(记得设置primary)
spring:
  datasource:
    dynamic:
      datasource:
        mysql:
        oracle:
        sqlserver:
        postgresql:
        h2:

# 混合配置
spring:
  datasource:
    dynamic:
      datasource:
        master:
        slave_1:
        slave_2:
        oracle_1:
        oracle_2:
3、示例
改造一下前面的例子:
spring.datasource.dynamic.primary=order
# Order
spring.datasource.dynamic.datasource.order.url=jdbc:mysql://localhost:3306/order?useUnicode=true&characterEncoding=utf8&allowMultiQueries=true&useSSL=false
spring.datasource.dynamic.datasource.order.username=root
spring.datasource.dynamic.datasource.order.password=123456
spring.datasource.dynamic.datasource.order.driver-class-name=com.mysql.cj.jdbc.Driver
# Stock
spring.datasource.dynamic.datasource.stock.url=jdbc:mysql://localhost:3306/stock?useUnicode=true&characterEncoding=utf8&allowMultiQueries=true&useSSL=false
spring.datasource.dynamic.datasource.stock.username=root
spring.datasource.dynamic.datasource.stock.password=123456
spring.datasource.dynamic.datasource.stock.driver-class-name=com.mysql.cj.jdbc.Driver
# Account
spring.datasource.dynamic.datasource.account.url=jdbc:mysql://localhost:3306/account?useUnicode=true&characterEncoding=utf8&allowMultiQueries=true&useSSL=false
spring.datasource.dynamic.datasource.account.username=root
spring.datasource.dynamic.datasource.account.password=123456
spring.datasource.dynamic.datasource.account.driver-class-name=com.mysql.cj.jdbc.Driver
4、使用 @DS 切换数据源
@DS 可以注解在方法上或类上,同时存在就近原则 方法上注解 优先于 类上注解
| 注解 | 结果 |
|---|---|
| 没有@DS | 默认数据源 |
| @DS(“dsName”) | dsName可以为组名也可以为具体某个库的名称 |
import com.baomidou.dynamic.datasource.annotation.DS;
import com.ntan520.example.stock.entity.Stock;
import com.ntan520.example.stock.mapper.StockMapper;
import com.ntan520.example.stock.service.IStockService;
import com.baomidou.mybatisplus.extension.service.impl.ServiceImpl;
import org.springframework.stereotype.Service;

@DS("stock")
@Service
public class StockServiceImpl extends ServiceImpl<StockMapper, Stock> implements IStockService {

}
import com.baomidou.dynamic.datasource.annotation.DS;
import com.ntan520.example.account.entity.Account;
import com.ntan520.example.account.mapper.AccountMapper;
import com.ntan520.example.account.service.IAccountService;
import com.baomidou.mybatisplus.extension.service.impl.ServiceImpl;
import org.springframework.stereotype.Service;

@DS("account")
@Service
public class AccountServiceImpl extends ServiceImpl<AccountMapper, Account> implements IAccountService {

}
